Harvard Historical Society
Reviewing posts
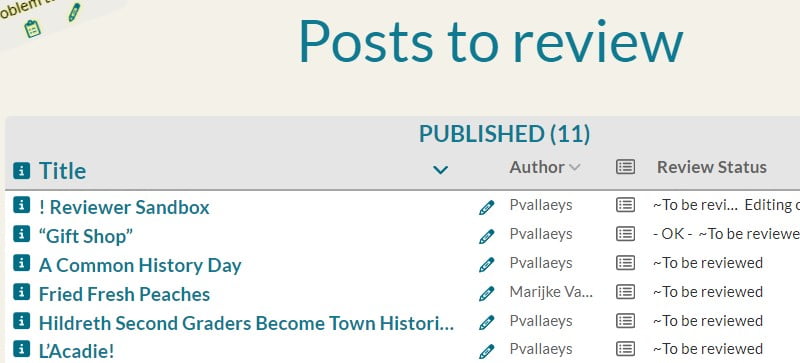
Listing the posts to review
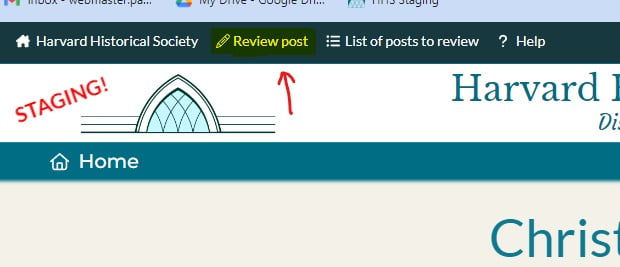
- Click on List of posts to review in the top menu bar.

- This will give you a list of the posts that need to be reviewed
If the review status of a post is highlighted, it means you were specifically requested to review the post or work on it.
Writing your Review Notes
- Open the post to review:
- click on the title of the post in the list
- or open it by navigating to it in the website.
- Note any issues you find with the content, formatting, links, etc…
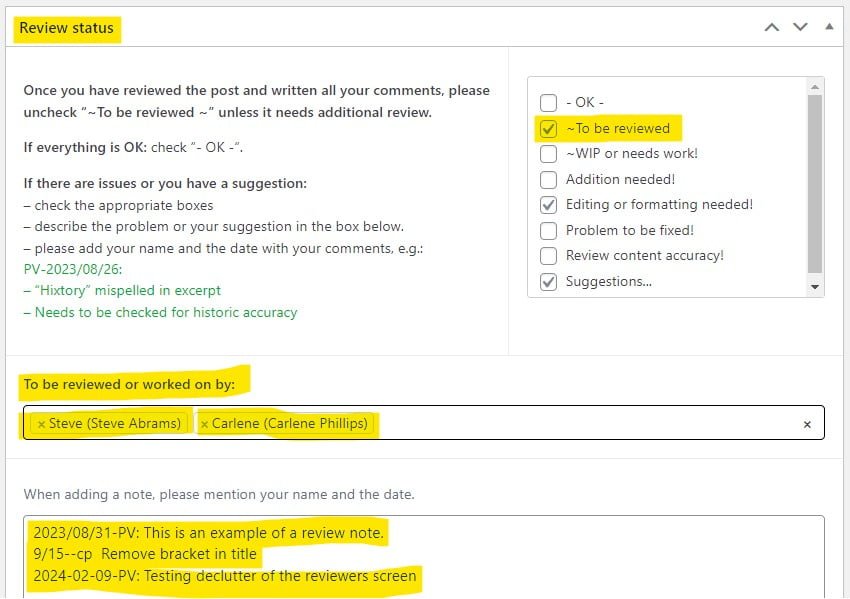
- Click on Review post (pencil icon) to record your notes.

- You will find additional guidance on how to update the review status on screen.
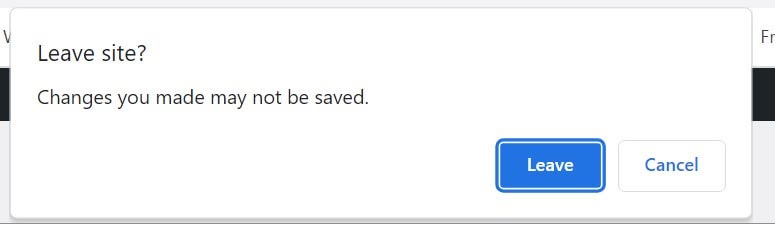
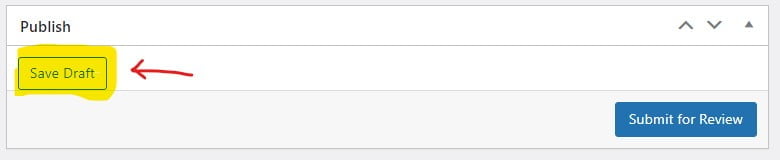
- When you are done, click on the Update button. If there is no update button, click on Save draft, if there is no Save draft neither, click on Submit for Review.


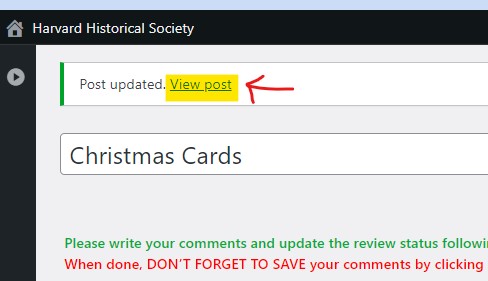
- When the update is done, you will see a View post link appear on top of the page. Click on it to go back to the site.

- When done reviewing this post, start over to do the next one.


Please DO…
- Send an email to webmaster@harvardhistory.org to let him know you have reviewed some post, even if you did not find any issues. No need to write what issues you found as long as you put them in the review notes.
- If you want a specific person to review the post, send them a request. See further on how to easily do it from the website itself.
- When reporting a Formatting error, specify the device you noticed it on. PC, tablet or phone? Windows or Apple?…
- Check the TOPICS: Scroll down the post you are reviewing. You will see something like e.g. “More about Harvard people…”. In this case, People is the main topic of that post. If other Topics have been checked for that post, you will see them in the More related list. If some topics are not relevant or other need to be added, mention it in the review notes.
- Click on everything, links, images and especially the “More” buttons. Check that the links work and check the additional content shown.
Please DON’T…
- DO NOT use a line number to indicate where a change has to be made. Line number 12 on a large screen might become line 37 on a tablet! Best is to copy and paste the surrounding text to make it easy to retrieve.
The Review Badge – Sending a review request
When a contributor (reviewer, proofreader, author,…) is logged in, posts and pages that require a review or other work will have a badge in the left top corner looking like this:
![]()
- Hovering the mouse over the Notepad icon will show you the Review notes.
- Clicking on the Pencil icon will open the editor.
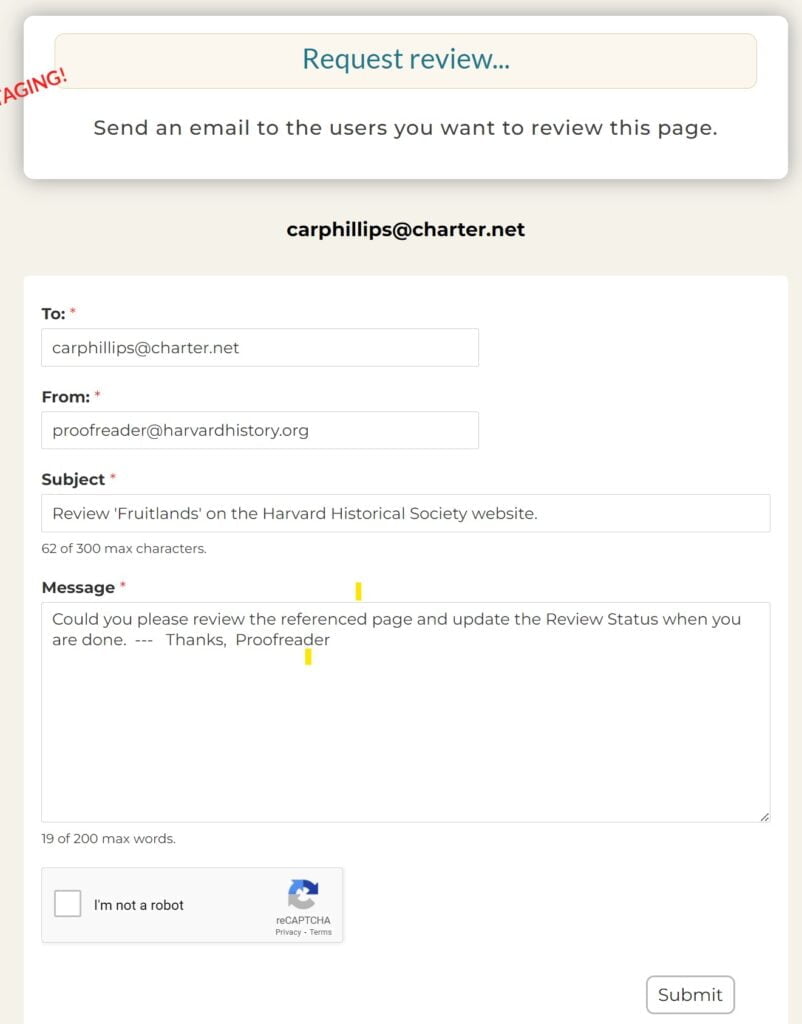
- Hovering the mouse over the Paper Plane icon will show you if anyone in particular is requested to review or work on this post, clicking on it will open a Request for Review screen. This screen is filled out and you can send it as is, or you can edit it as you like. You can add some specifics about what you want the person to do, e.g. “Please check the picture captions”.
IMPORTANT: The first time you send review request to someone, it might end up in SPAM. Ask the person to find it in the SPAM folder and tell the email app that this is NOT SPAM. All subsequent requests should then no longer be considered SPAM.
Tips and Tricks
Afraid to make mistakes? Try the Reviewer Sandbox.
When logged in, click on Topics in the blue menu bar. Click on Sandbox and then on Reviewer Sandbox. You can write any comments and change the review status of this post all you want. It is only used for training purposes!
Keep both the post and the review notes open at the same time.
Large screen or 2 screens, use 2 windows:
- Open 2 browser windows, resize them to half of the screen width and put them next to each other,
- Open the post to review in the left window and open the Review notes of the same post in the other window.
- If you find a spelling mistake, you can copy the text in the post and paste it into the review notes.
Medium screen, use 2 tabs:
- Open the post you want to review
- Open the Review notes in a new tab
- Windows: Ctrl + Left-click on Write review notes: Hold down the “Ctrl” key on your keyboard and left-click on Write review notes. The review notes will open in a new tab. Click on the new tab to switch from the post to the Review notes.
- Mac: Command (⌘) + Click on Write review notes: Hold down the Command key (⌘) on your keyboard and then click on Write review notes
- You can now switch back and forth between the post and the review notes without having to wait for the pages to reload all the time.
- If you find a spelling mistake, you can copy the text in the post and paste it into the review notes easily.
When browsing through the site, you might notice Review status stickers.
They appear as a semi-transparent sticker in the top left corner of a post unless the post has been reviewed and is OK. They only appear if you are logged in, so the general public never sees them. If you put the mouse on the clipboard icon, you will see the review notes.
Useful Shortcuts – Windows
- Copy: Ctrl + C
- Paste: Ctrl + V
- Undo: Ctrl + Z
- Search: Ctrl + F
- Open link in new tab: Ctrl + click
Useful Shortcuts – Mac
- Copy: Command (⌘) + C
- Paste: Command (⌘) + V
- Undo: Command (⌘) + Z
- Search: Command (⌘) + F
- Open link in new tab: Command (⌘) + click
Frequently Asked Questions