Harvard Historical Society
Author basics
How to add, edit or delete a post.IMPORTANT: Please use the Google Chrome browser for editing the website.
This is the only browser we test with and there are known issues with Firefox and Safari.
Logging in
- Public site: harvardhistory.org
- On the Home page, scroll down to the footer and click on the key icon.
- Login with your username and password. This will take you back to the home page.
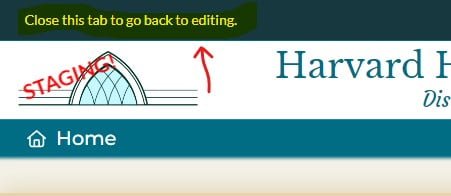
- Staging site: staging.harvardhistory.org
- If you get the message STAGING SITE LOCKED, click on login.
If not, on the Home page, scroll down to the footer and click on the key icon. - Login with your username and password. This will take you back to the home page.
- If you get the message STAGING SITE LOCKED, click on login.
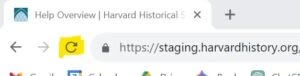
NOTE: After logging in, you should see a black bar with menu items on top of the page.
If you don’t see it, reload the page by clicking on the reload icon that looks something like this:

Post Sections
Posts are organized in sections. You will find the following sections in most templates:

Adding a New Post
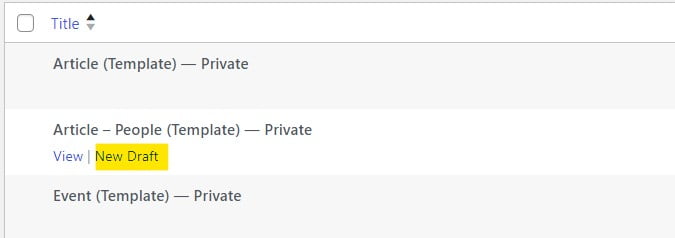
- Click New in the black top bar, then click on CONTINUE, CHOOSE A TEMPLATE…

- Choose a template to start from, e.g. Article – People, hover the mouse over it and click New Draft
This will open the edit screen for your new post.


- The editing screen is organized as follows:
- It has blocks for all the Sections described above. This is where you enter the Section’s content and settings.
- Additional blocks, such as Publish, Review Status, Type, etc..
NOTE that you can click on the bar on top of each block to collapse or expand it.

Entering the content
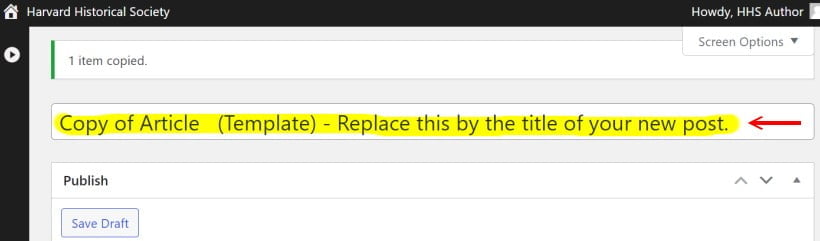
- Change the Title

- Enter an Excerpt. Ideally this should be between 30 and 50 words describing the content of the post. It is OK if some of it is repeated in the content. Therefore, entering the content of the post first and then copying the first couple of sentences for the excerpt is a good idea.
IMPORTANT: the Search function of the website only looks through the Title and the Excerpt. It is therefore important to make sure it contains all the keywords that people might use to look for that post. E.g. the About page should have the word “board” in it!

- Select or upload a Featured Image
(See more about uploading images below)

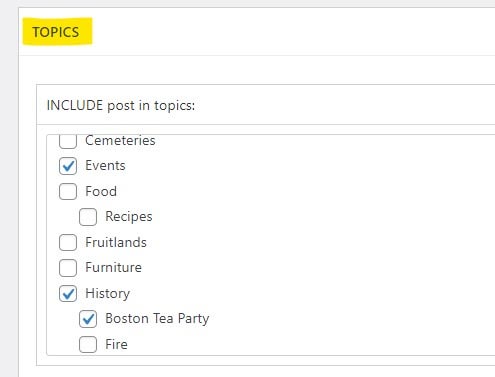
- Check one or more Topics (e.g. people, shakers) the post is related to. The post will show up in all the topics you checked.

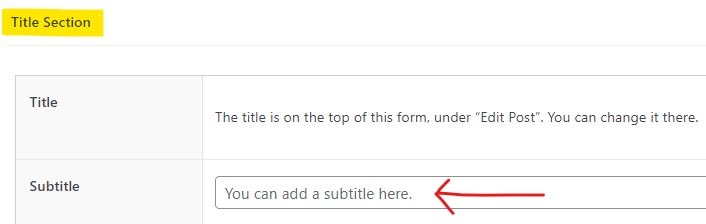
- Add a Subtitle if you want. E.g. for people articles, you can put the date of birth and death here.

- Enter the Content of your post.
- If you paste from another file, preferably paste as plain text (Windows: Ctrl + Shift + V, MacOS: Command + Shift + V).
- Please use pre-defined formatting styles as much as possible.
- Note that what you see in the text editor is not how it appears on the website.
- For more on formatting, see Help – Formatting Styles

- If you have more than one pictures, put them in the Gallery Section.
(See more about this below)

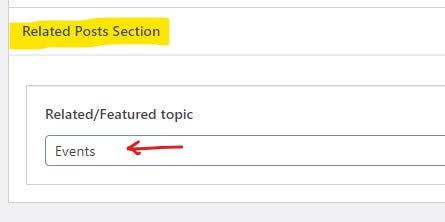
- In the Related posts Section, select one Related/Featured topic. Choose the topic that is the most closely related to the subject of your post. Up to 8 posts with this topic will be shown in the related section.


Saving your draft
- Scroll all the way up to the top of the edit screen, click on Save Draft
Once the Post draft is saved, you will see a Preview post link you can click to see the result.

- Close the Preview tab or window to go back to the edit screen.

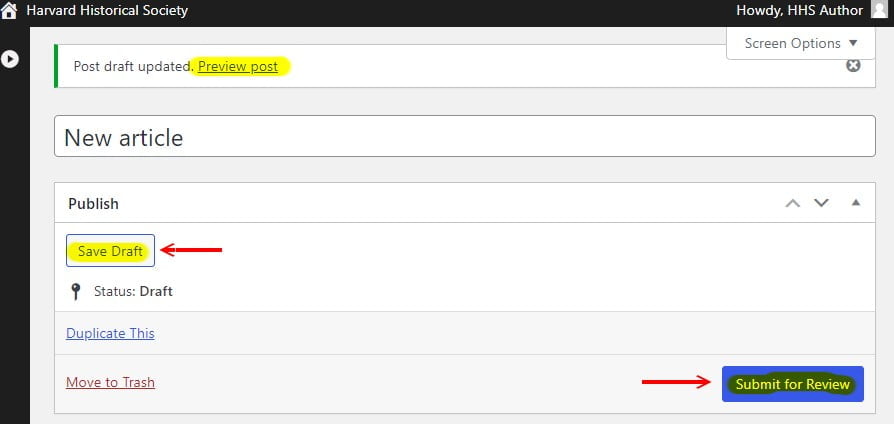
Submitting the post for review
When your new post is ready, the next step is to submit it for review. This will change the status from Draft to Pending.
- First, change the Review Status to ~To be reviewed

- Next, click on Submit for Review


NOTES:
- After you submit for review, the post will be listed under Pending in the list of Your Posts.
- When editing a pending post, you can no longer do a save draft, click on Submit for Review again if you want to save changes you made.
Uploading pictures
The media library
All the pictures and images on website are stored in the Media Library. To open the Media Library, click on Media in the black top bar. The Media Library is organized in folders. When you open it, it will show you All files or the last folder you opened. There are folders for each topic, such as People or Shakers.

Organizing the images in the media library
It is very important to keep the images organized properly in folders.
Images in the unorganized folder should be moved to a folder to make it easier to retrieve them.
- To move an image, just drag and drop it into the right folder or subfolder.
- To add a new folder:
- Select All files
- click on the Folders + icon.
- As an author, you are not allowed to make new folders or subfolders. If you don’t find an appropriate folder for your image, put it in unorganized and ask the webmaster to add a new appropriate folder.
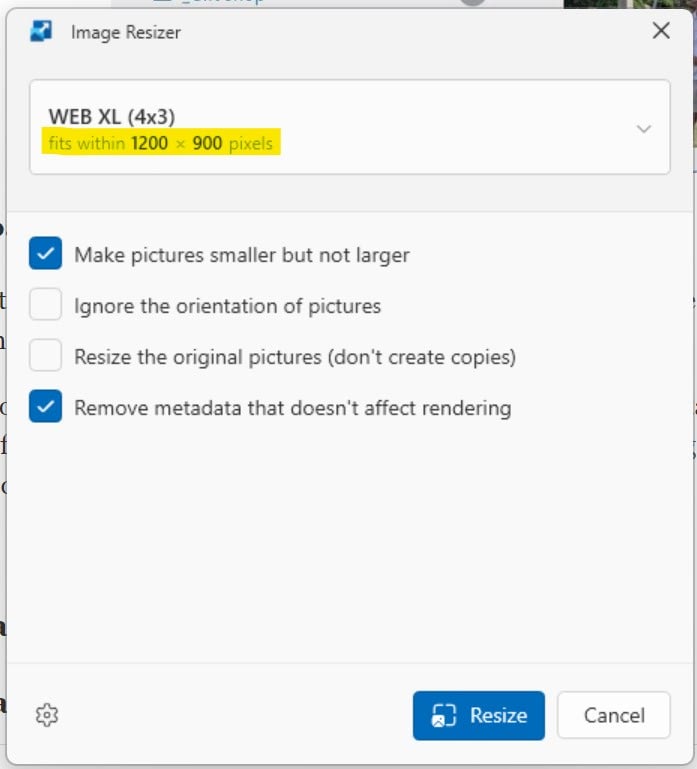
Resizing before you upload
For performance reasons, the pictures you upload should be jpegs (. jpeg or .jpg) and limited in size to maximum 1200 x 900 pixels (Width x Height). If the image is too large, the upload will end in an error message. The recommended size is minimum 640 x 480.
There are many apps that allow you to resize pictures. If you need further help with this, contact the webmaster.
One resizing app we recommend for Windows is part of the Powertoys app. It makes resizing very easy, just right click on the image in explorer and select Resize picture. Contact the webmaster if you need help installing the Powertoys app.
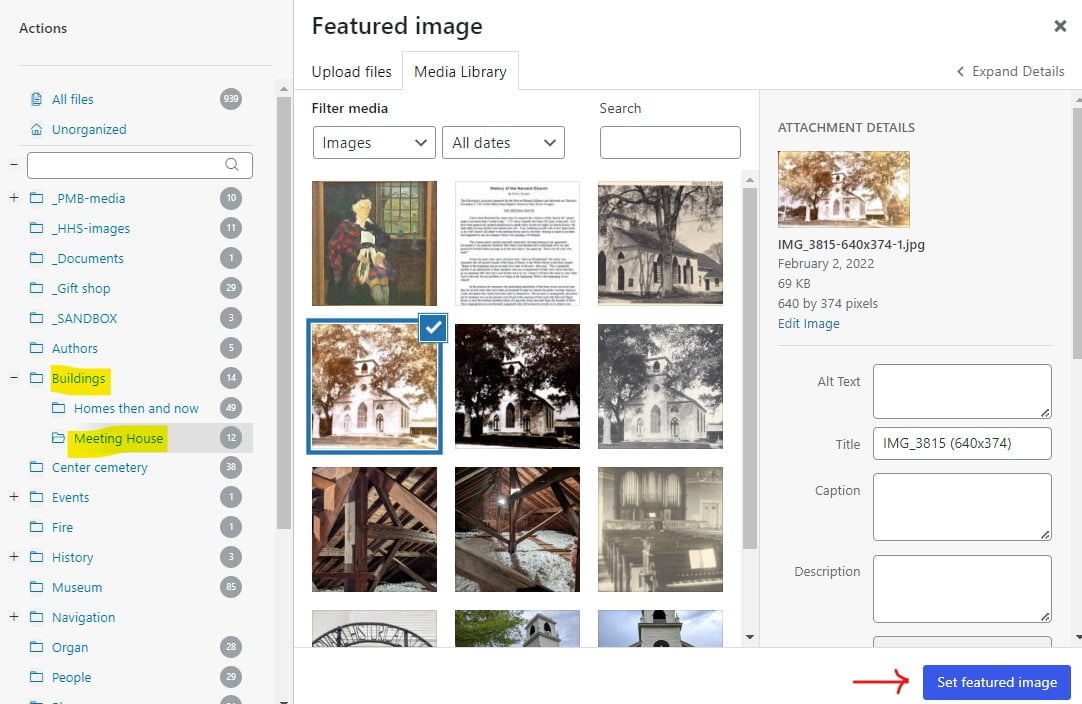
Setting the Featured Image
Clicking on Set featured image will open the media library selection screen. If you get the “upload” screen, it is better to switch to the Media Library tab. You either select an existing image in one of the folders or you can upload a new image (see further).

WARNING: Do not use a portrait image. Only use landscape images, preferably in a 4 x 3 ratio. If the image does not show the way you want, consider cropping it.
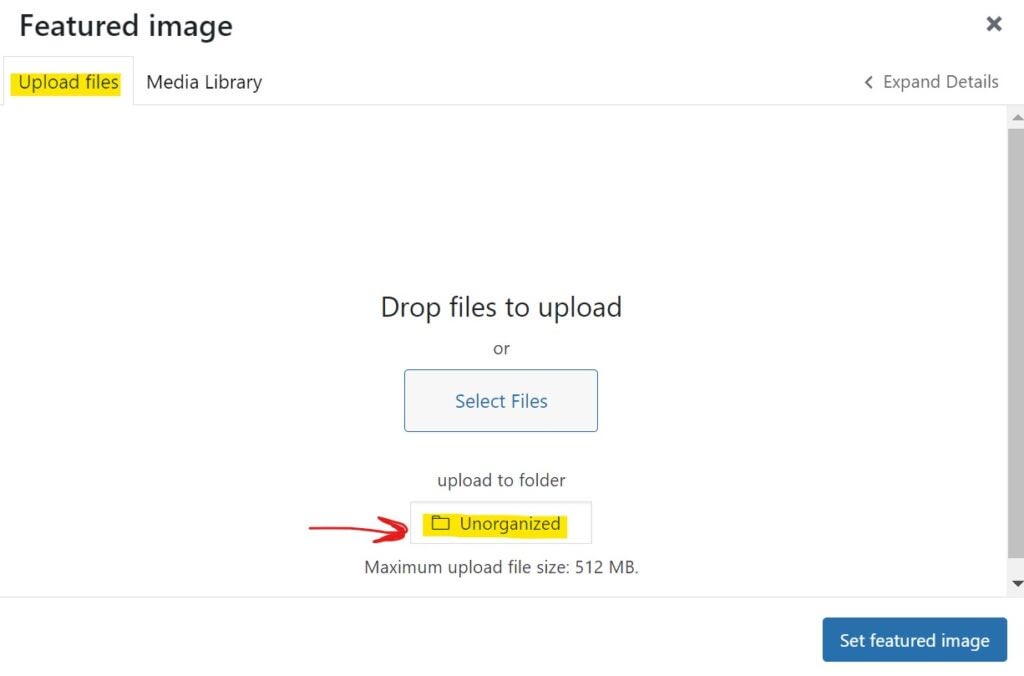
To UPLOAD a new image or picture there are 2 methods:
- Drag and drop (preferred!):
- IMPORTANT!: first select the folder you want to put the image in.
- then drag and drop the new picture file onto the Media Library selection screen
- Select the file on your computer:
- click on Upload files tab
- select the folder you want to put the image in
- click on Select Files, choose the file and Set it as the Featured Image

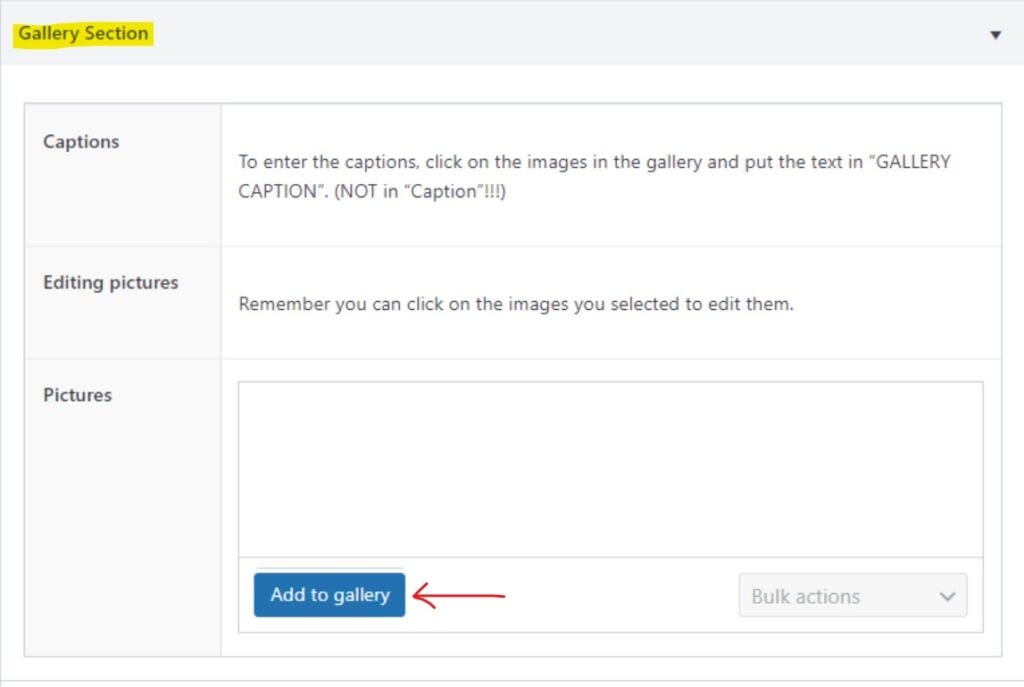
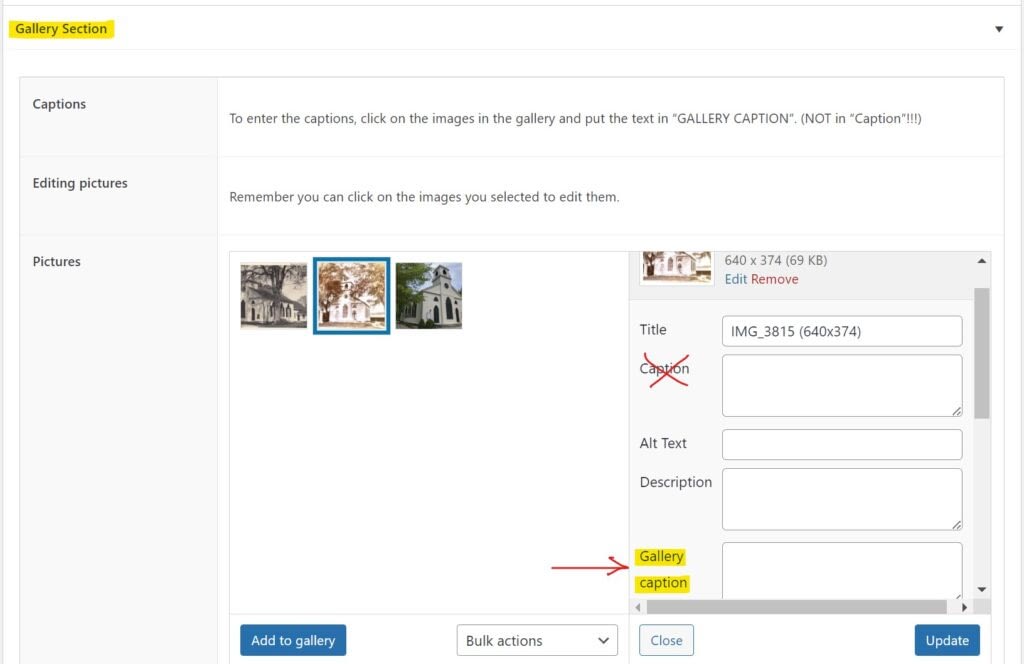
Adding pictures to the Gallery Section
Go to the Gallery Section as shown hereunder!
Adding pictures to the Gallery Section is the same as setting the featured image. Only difference is that you can select multiple images. Once you have selected the pictures for the Gallery, you can:
- reorder them the way you want: just drag and drop them in the right sequence
- add captions if you want:
- click on the image in the gallery, this will open an editing window for that image
- enter the caption in Gallery caption, not in Caption, although it is OK to enter the caption in both.
Editing a post
- If published already, go to the post in the website and click on Edit/review post
- If still in draft or pending, click on Posts in the toolbar at the top of the page. This will give you a list of all the posts, PENDING, DRAFTS and PUBLISHED. Put the mouse over the post and either view it by clicking on its title, or click on the pencil icon for editing.

After making changes to the post, don’t forget to save them, click on Save draft or on Update if the post is already published.
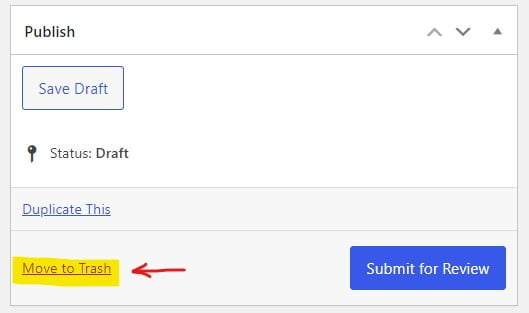
Deleting a post
- Open the post in editing mode, just as if you wanted to make a change. Look for Move to Trash next to the Update button.
NOTE that the post will remain in the Trash bin for a couple of weeks, so if you want to restore it, look in the Trash section of Posts.

Q & A